DIY Drywall Finishing:
Working with Setting-Type
Joint Compound
Small Batch (2/3 Pan)
The following DIY drywall finishing tips make all the difference if youve never worked with these materials before. There are no fancy tools or gadgets required for pan-size batches, and if youre working with 20-minute setting-type compound, you should never mix more than a pan full at a time anyways.
Soak Point or Breakdown
Setting-type compound tends to go through a rapid change in consistency approximately 60 seconds after it has made contact with water. In other words, the compound reaches the soak point. Certain brands will suddenly become shiny and instantly too thin. Some pros call this break-down.
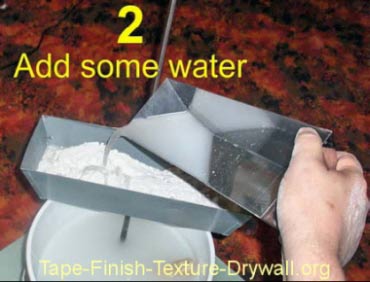
For patch-work, or a single tub/shower installation, you can mix small batches in your pan by starting with powder, then adding water. This is the only way that Ill mix the 20-min. formula.
DIY Drywall Finishing Tip #1: Whatever you do, DONT try to mix a large batch of 20. Even a half-bucket is way too much! Keep in mind that were not trying to mix a perfectly smooth batch here. Its OK if its a little lumpy.
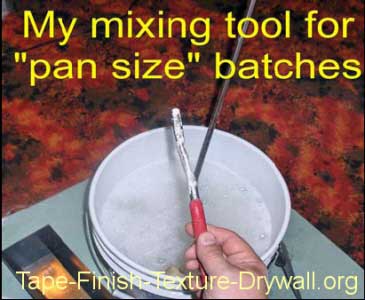
DIY Drywall Finishing Tip #2: Ive used the same tool for mixing small batches for decades (½ of a pair of snap-ring pliers). Anything that resembles a stick will work!
A TABLESPOON HANDLE WORKS GREAT.

Use a large serving spoon or a scoop to fill your pan with the powder. Handle it carefully, or it becomes air-borne and ends-up in your nose or lungs.
 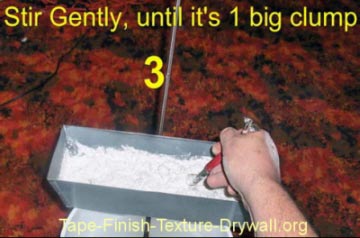
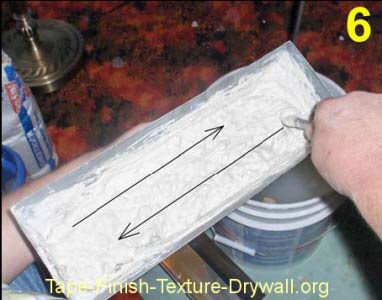
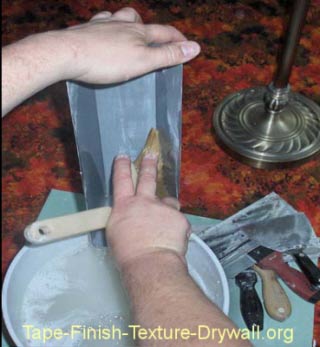
Now that most of the water is gently stirred in, you can pick up the pan without dropping it everywhere. Gripping the tool as shown below enables you to mix with more power, without throwing the material out of the pan.
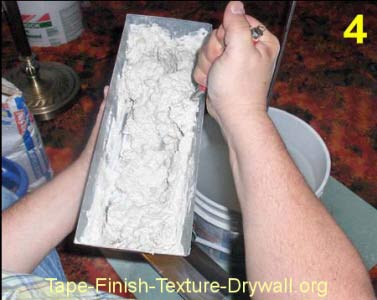
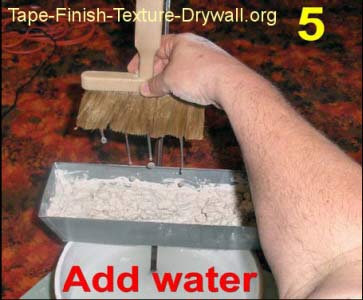
DIY Drywall Finishing Tip #3: When you get the mud close to where you want it, but its still too thick, its really handy to use your scrub brush to add small amounts of water to the mix (as shown below.)
Now you can use the high speed setting on your mixing arm! Vigorously whip the bar back and forth through the compound until its well mixed. (My mud pans have dents in the ends from this part.)
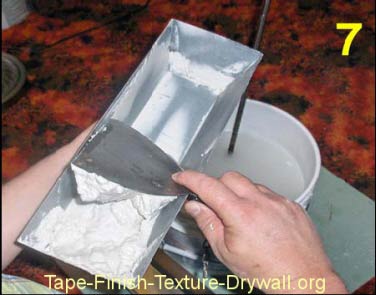
Use your blade to loosen any unmixed material from the sides and bottom. Then, re-mix in the high-speed mode.
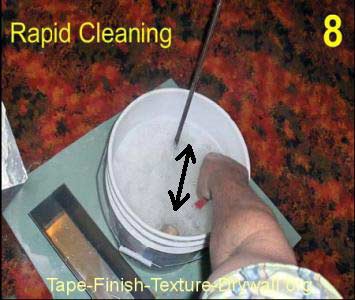
To quickly clean the tool when youre finished mixing, place it half-way into the water and VIGOROUSLY work it back and forth (as shown below.)
When using setting-type compounds, ALWAYS wash all blades and the pan before starting a new batch. Wash the pan first then the blades.
Never allow the compound to set-up
or dry on your equipment.
|