


|
Learn To Finish Drywall From a Pro!
You wont find this information anywhere else!
Your Program Includes:
A 226-page eBook packed full of drywall trade secrets: "The Trade Secrets to EASIER Taping, Finishing and Texturing"
PLUS
Bonus Guide #1: "Sagging Ceilings - Can You Avoid the Tear-Out?"
Bonus Guide #2: "The Mud Swirl." A short 6-page how-to guide for this popular type of texture.
Bonus #3: Unlimited FREE Access to 17 On-The-Job Training Videos!
|


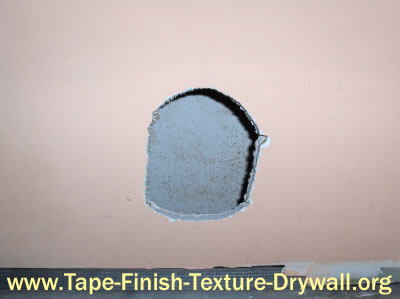
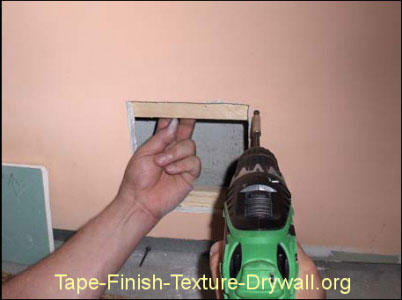
High-Strength Drywall Hole Repair The next time you're faced with a drywall hole repair, try the following unbeatable method. First of all, you can buy small pieces of drywall (3ft. x 3ft., or smaller) at many home improvement stores, and even some of the local drywall suppliers. Step 1) Determine the thickness of your existing drywall/wallboard. Your drywall hole repair will require a matching piece of drywall which is typically 1/2 - inch or 5/8 - inch in thickness. Use a square piece that covers a slightly larger area than the hole.
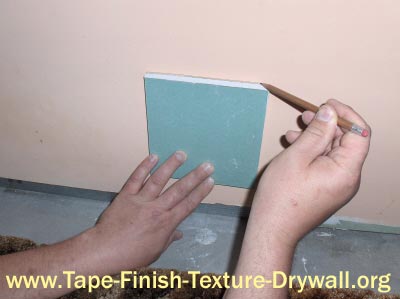
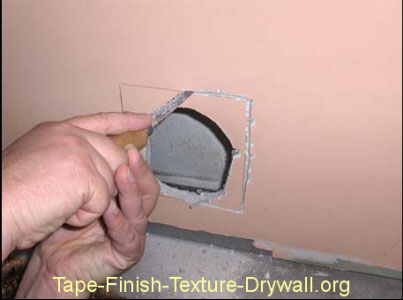
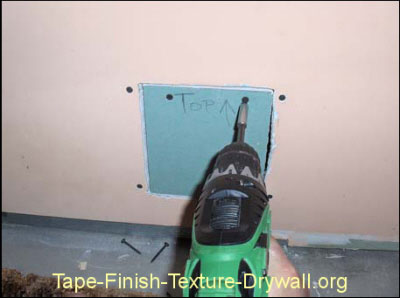
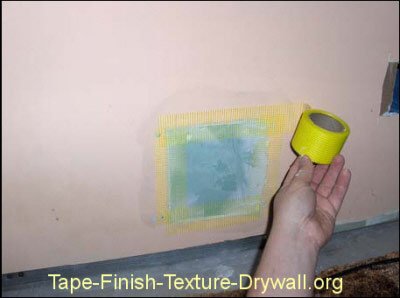
Step 2) Use a pencil to trace around the new piece as shown. Then mark the top of the new piece so that you know which edge is up. Step 3) Use a key-hole saw to cut around the pencil line. Afterwards use a sharp utility knife to trim any frayed edges around the opening, or around the edges of the replacement piece of drywall.
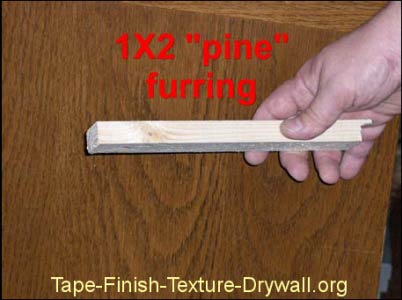
Step 4) Cut and install 2 or more pieces of suitable framing. (1X2 pine fur strips for smaller holes - or 1X4 pine shelving for extra support on the large holes). Tip: If the hole is a small one, it sometimes helps to place a longer screw into the strip (for holding it in-place while you install screws at each end). The longer screw serves as a handle for holding the wooden strip in place while you install the first few screws. After the wooden strip is secured in the opening, remove the longer screw.
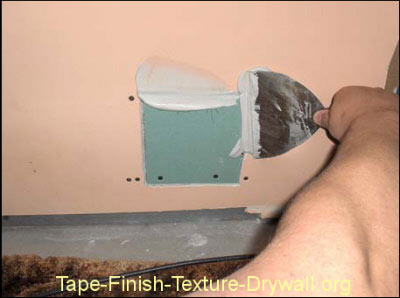
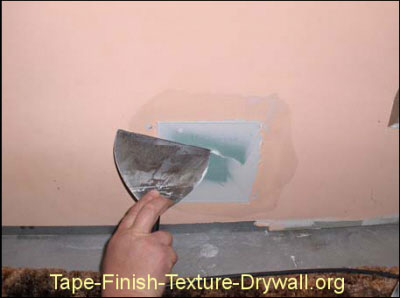
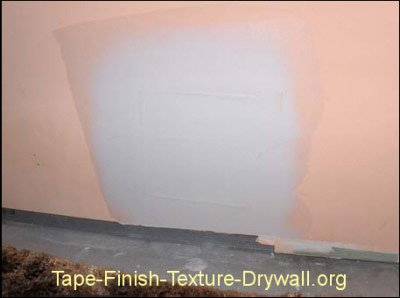
Step 5) Install the new piece of drywall. After you apply the tape and the mud, your drywall hole repair will be strong and sturdy!
Most do-it-yourselfers agree that the mesh joint tape is easier to work with than the paper joint tape on small repairs. You can use either type.
For patches that are larger than 1 ft. by 1 ft. you should use the 1 X 4 inch pine shelving (instead of the smaller 1 X 2 inch furring strips). The wider shelving allows for more support (and also more area for screwing the fasteners into.) For seamless results, refer to the |